You can backup the wireless network settings from Windows 7 and these settings can be easily saved to a USB stick. You simply use the USB stick to import the settings to laptops and desktops added to your network, even if they are using XP or Vista. To do this, follow these simple steps and set your network up for a no-hassle system.
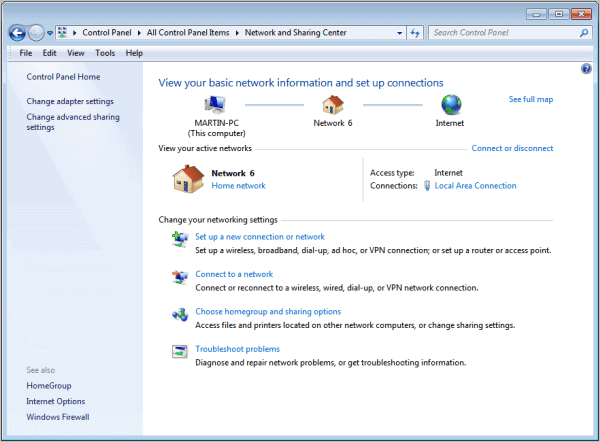
Click the wireless network symbol from the taskbar and then click “Open Network and Sharing Center.” Alternatively, you may go to the Start Menu and open the Control Panel > Network and Internet > Network and Sharing Center.

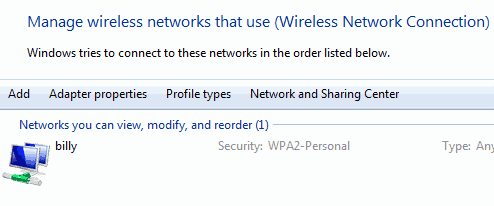
In the left control pane, you will see “Manage wireless networks”. Click on this and it will open the Manage Wireless Networks window. Here you will see a list of all wireless networks to which you have connected in the past.

In this example, only a single network is listed. That is because all other networks were intentionally removed for security reasons. This is not normally necessary, but should you decide to delete a network, simply highlight it and press Delete.
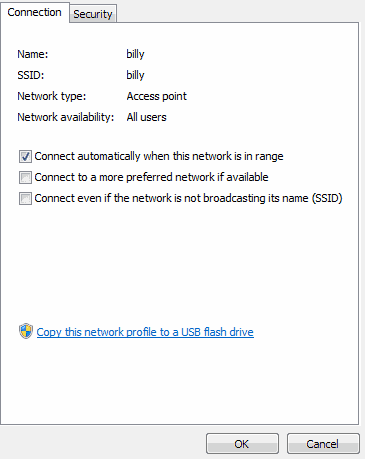
Double-click the network that you want to manage and a window showing all of its properties will be presented.

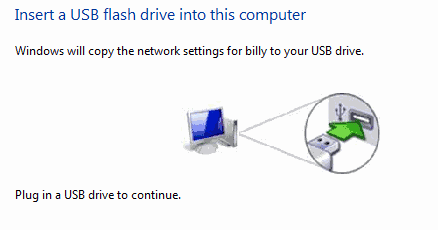
Click the bottom blue link next to the Windows shield in order to save these network settings to a USB flash drive. The flash drive that you choose does not need to have a high capacity. Preferably, use a 1-2GB flash drive and use it solely for the purpose of importing network settings. Once you click the link to copy the network profile, the Copy Network Settings wizard will initiate.

Now plug in your flash drive and wait just a moment while the drive is detected. When the drive is detected, the Next button will turn blue. Click the Next button when it is ready. The settings will only take a matter of seconds to copy to the flash drive. When it is done, click Close.

If you go to the Computer Panel and double-click your flash drive, you will see one new folder, “SMRTNTKY” and you will also see a new file called “setupSNK.exe”. These are the saved network settings, so do not delete them.
To import the Wireless Network Settings, first plug the flash drive in a laptop or other USB accessible device, such as a printer, which you want to add to your network. To keep it simple, let us say it is a laptop. The Wireless Setup Wizard will launch. Click on Yes and the settings will be automatically imported. You will most likely receive a notification of this. Click OK and the laptop is now connected to the network. You can use this for multiple computer additions to your network without the need for going through an extensive setup procedure. This is very helpful indeed and saves time.

No comments:
Post a Comment